
In this topic
Introduction
How to Get Started with AI on Google Colab: A Beginner’s Guide to Using Hugging Face, Open-Source Models & Small Datasets
But here’s the good news: you don’t need a PhD in AI or a monster GPU setup to begin. All you really need is curiosity, a browser, and the right tools—and that’s exactly what this guide is about.
In this post, we’ll walk you through how to get started with AI using Google Colab and Hugging Face, two beginner-friendly platforms that let you explore powerful machine learning capabilities using open-source models and small datasets.
Whether you’re a student, a marketer experimenting with NLP, or someone just curious about AI—this one’s for you.
Why Google Colab and Hugging Face?
Let’s start with the “why.”
Google Colab is a free, cloud-based coding environment. You can write and run Python code without installing anything. Plus, you get access to GPUs for free—great for training small models.
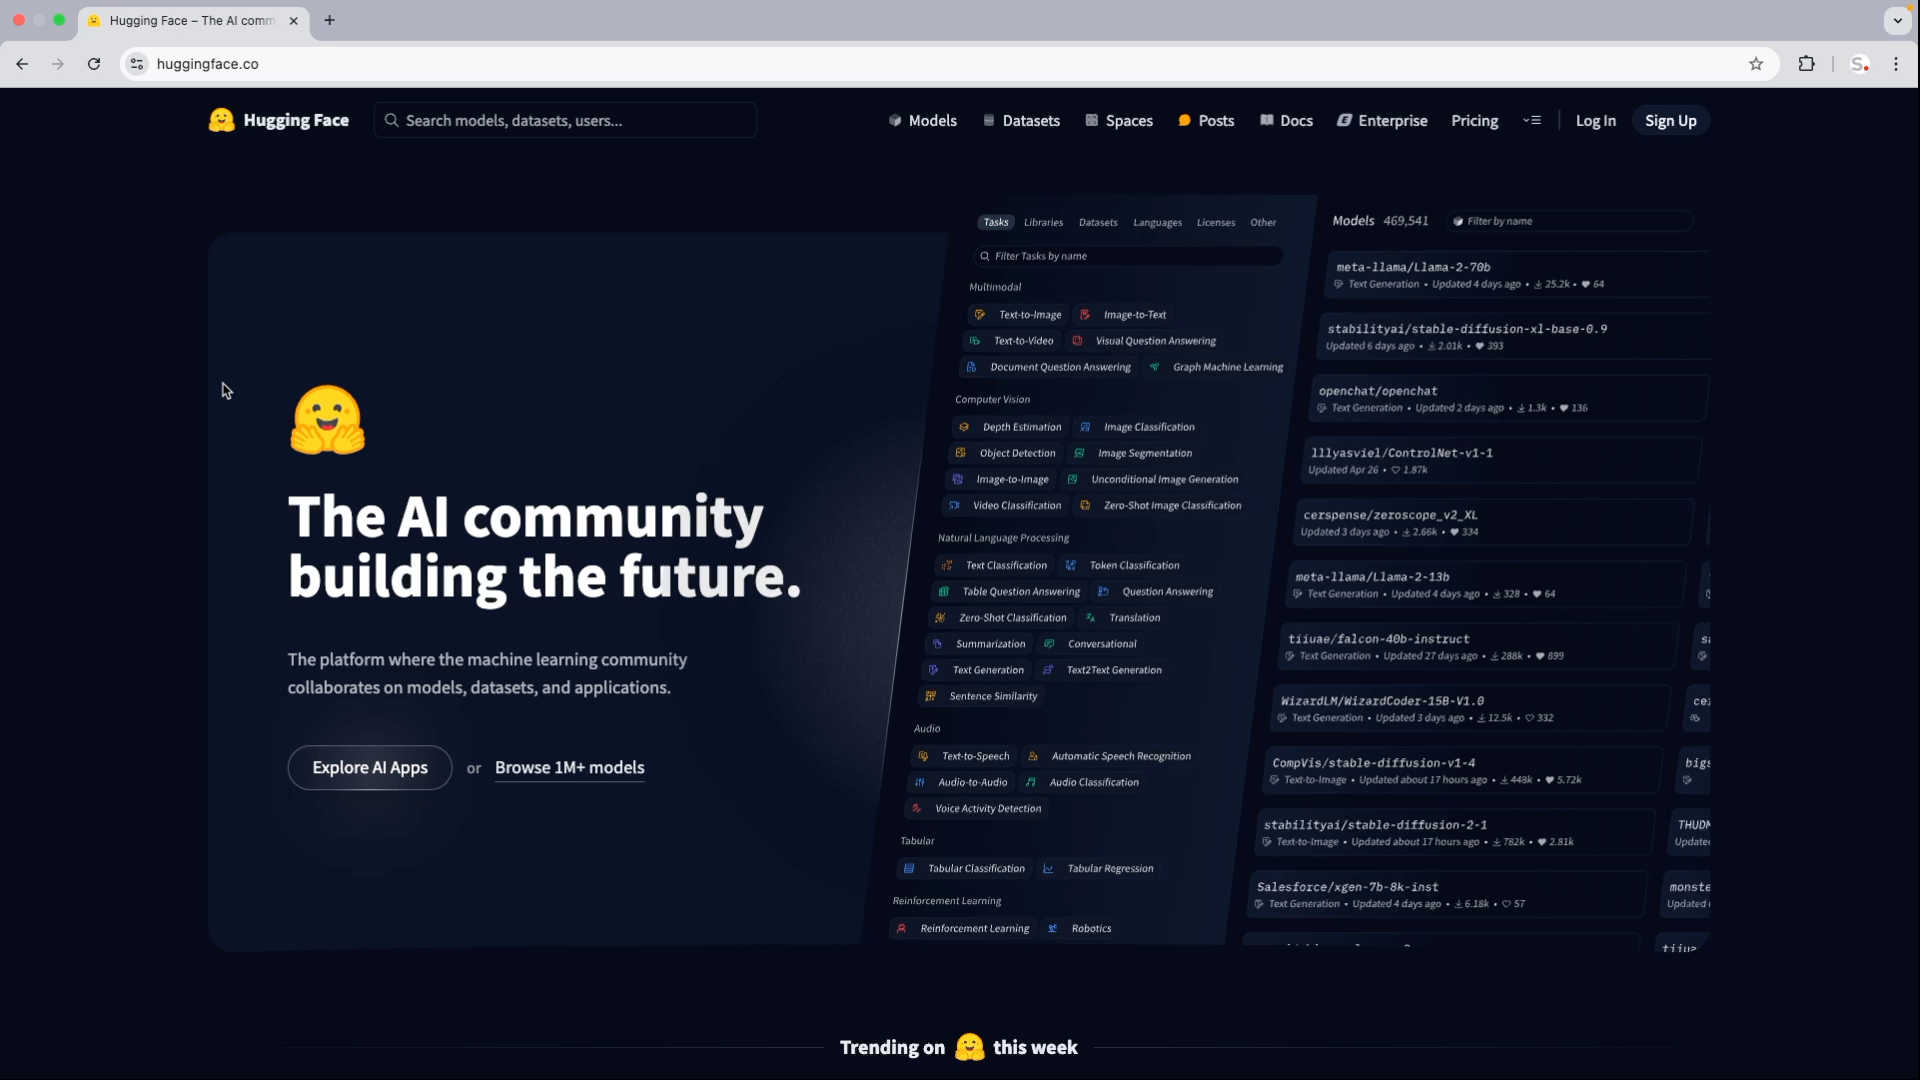
Hugging Face is one of the most exciting platforms in AI right now. It gives you access to thousands of pre-trained models—which means you can experiment without needing to train a model from scratch.
Tip for beginners: Colab + Hugging Face is like having a ready-made lab at your fingertips. Don’t worry about getting everything perfect—just explore, test, and learn.
Step 1: Understand What Open-Source AI Models Are
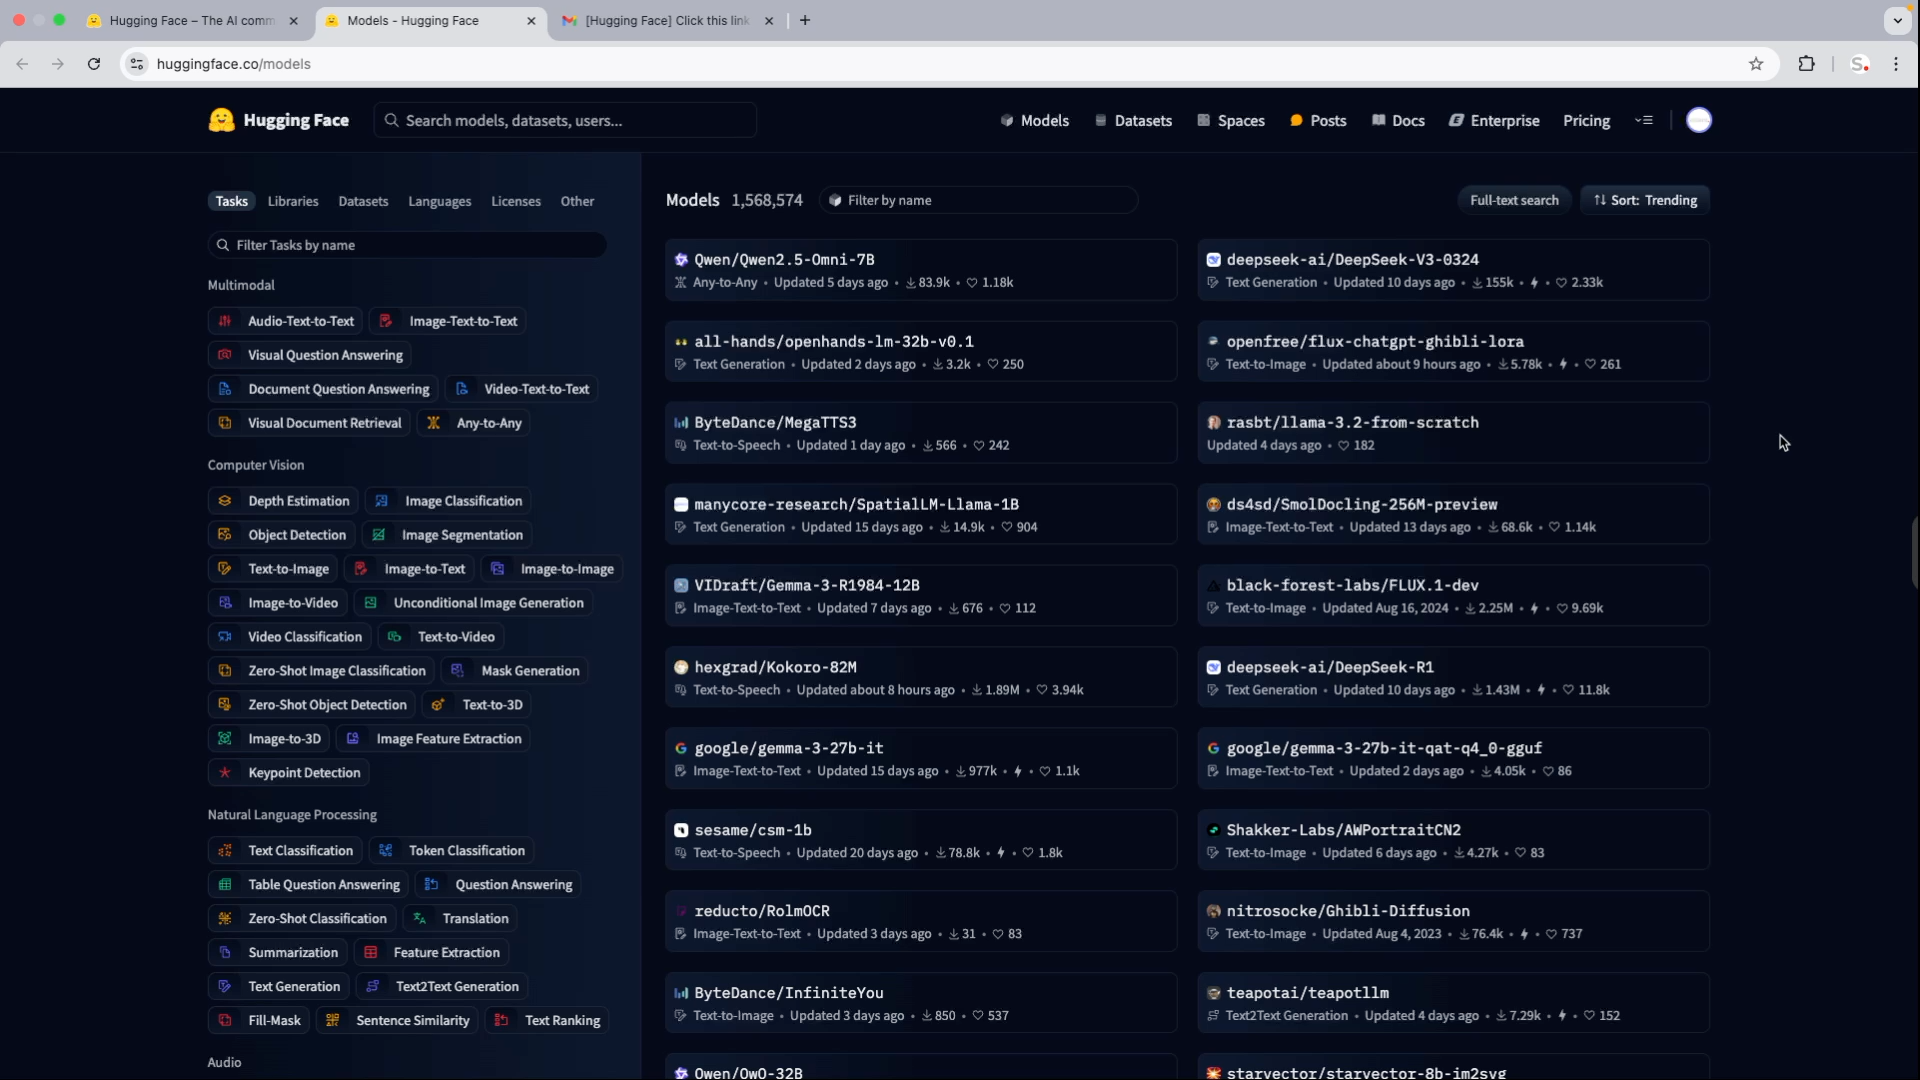
Think of open-source models as pre-trained brains that have already learned something useful—like recognizing the tone of a sentence, generating text, or classifying images. Instead of training a model from scratch (which can take days or even weeks), you can reuse these models and fine-tune them for your own needs.
Popular models on Hugging Face include:
- DistilBERT – a lightweight, fast version of BERT used for tasks like sentiment analysis
- GPT-2 – for generating human-like text
- RoBERTa, T5, BART – for a range of natural language tasks
Step 2: Set Up Your Hugging Face Account
You’ll need a free Hugging Face account to use the models. Here’s how to get started:
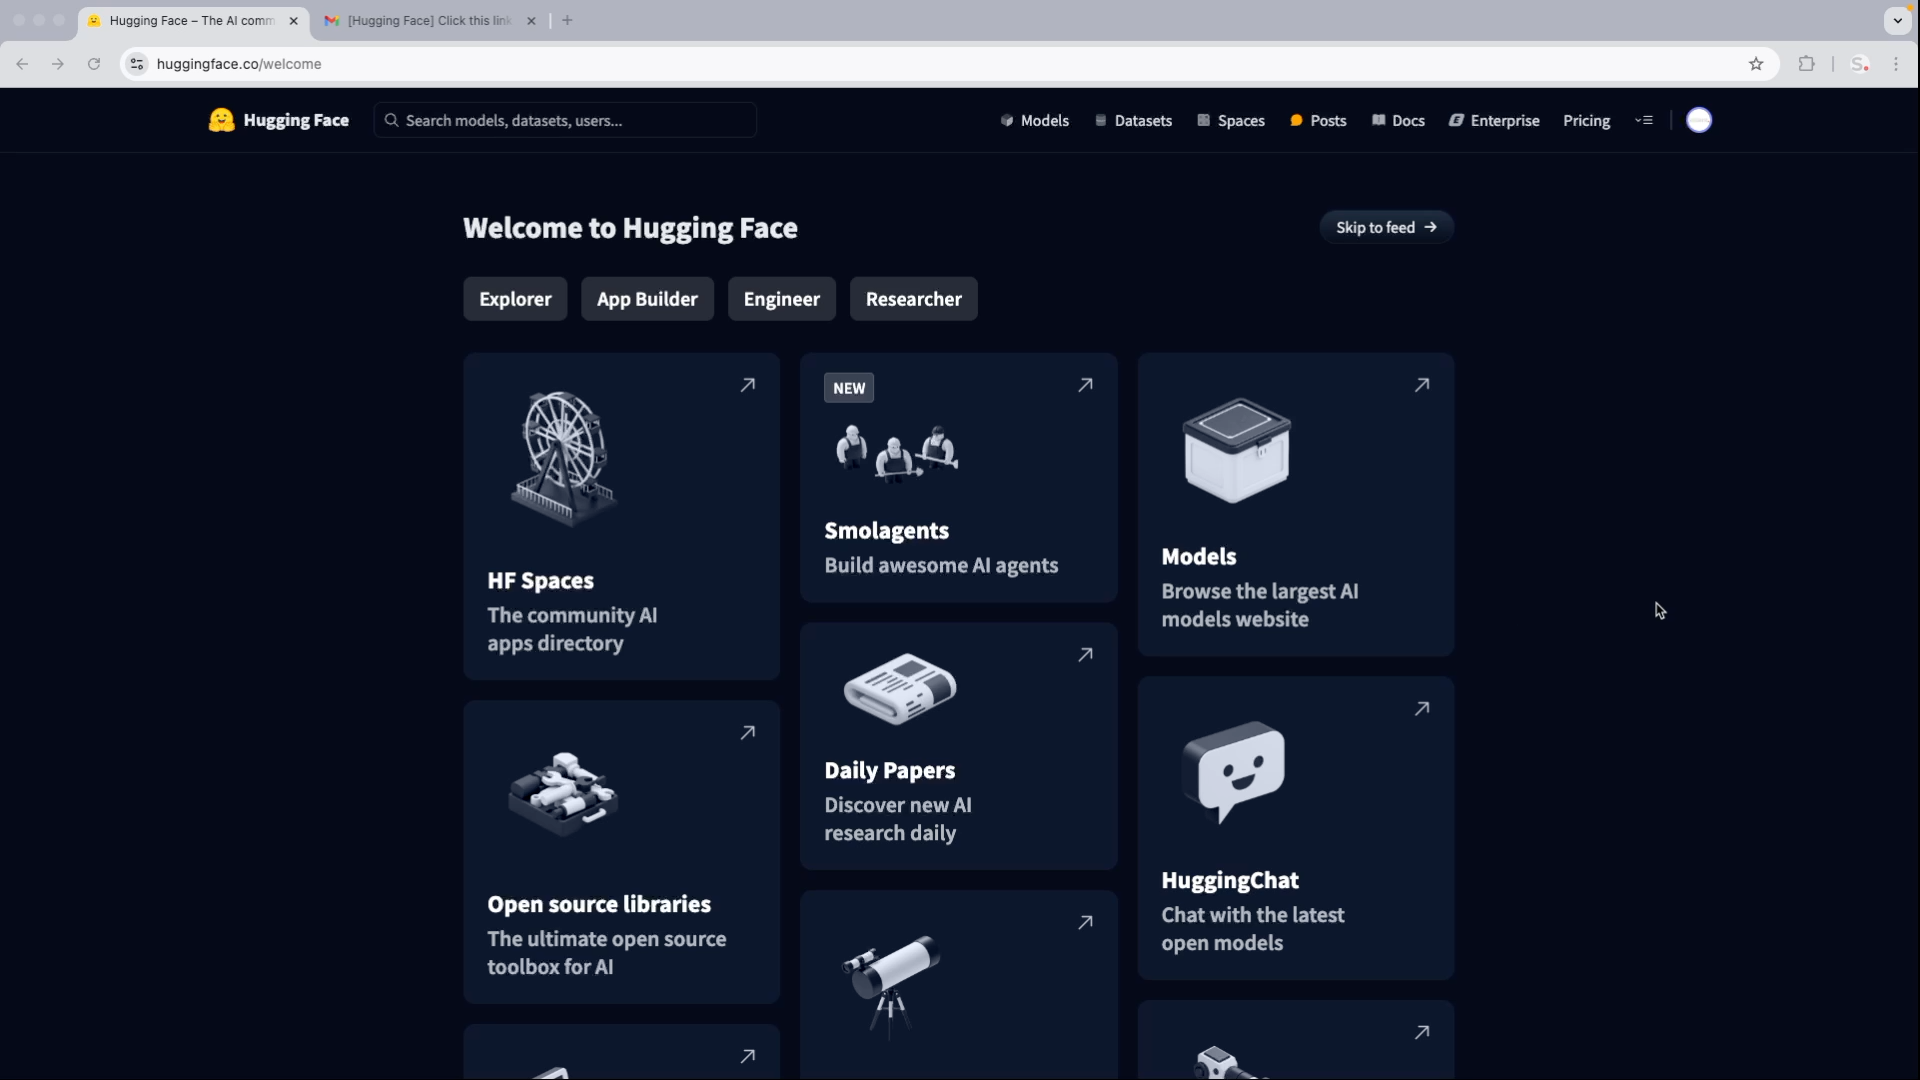
- Go to huggingface.co
- Sign up for an account
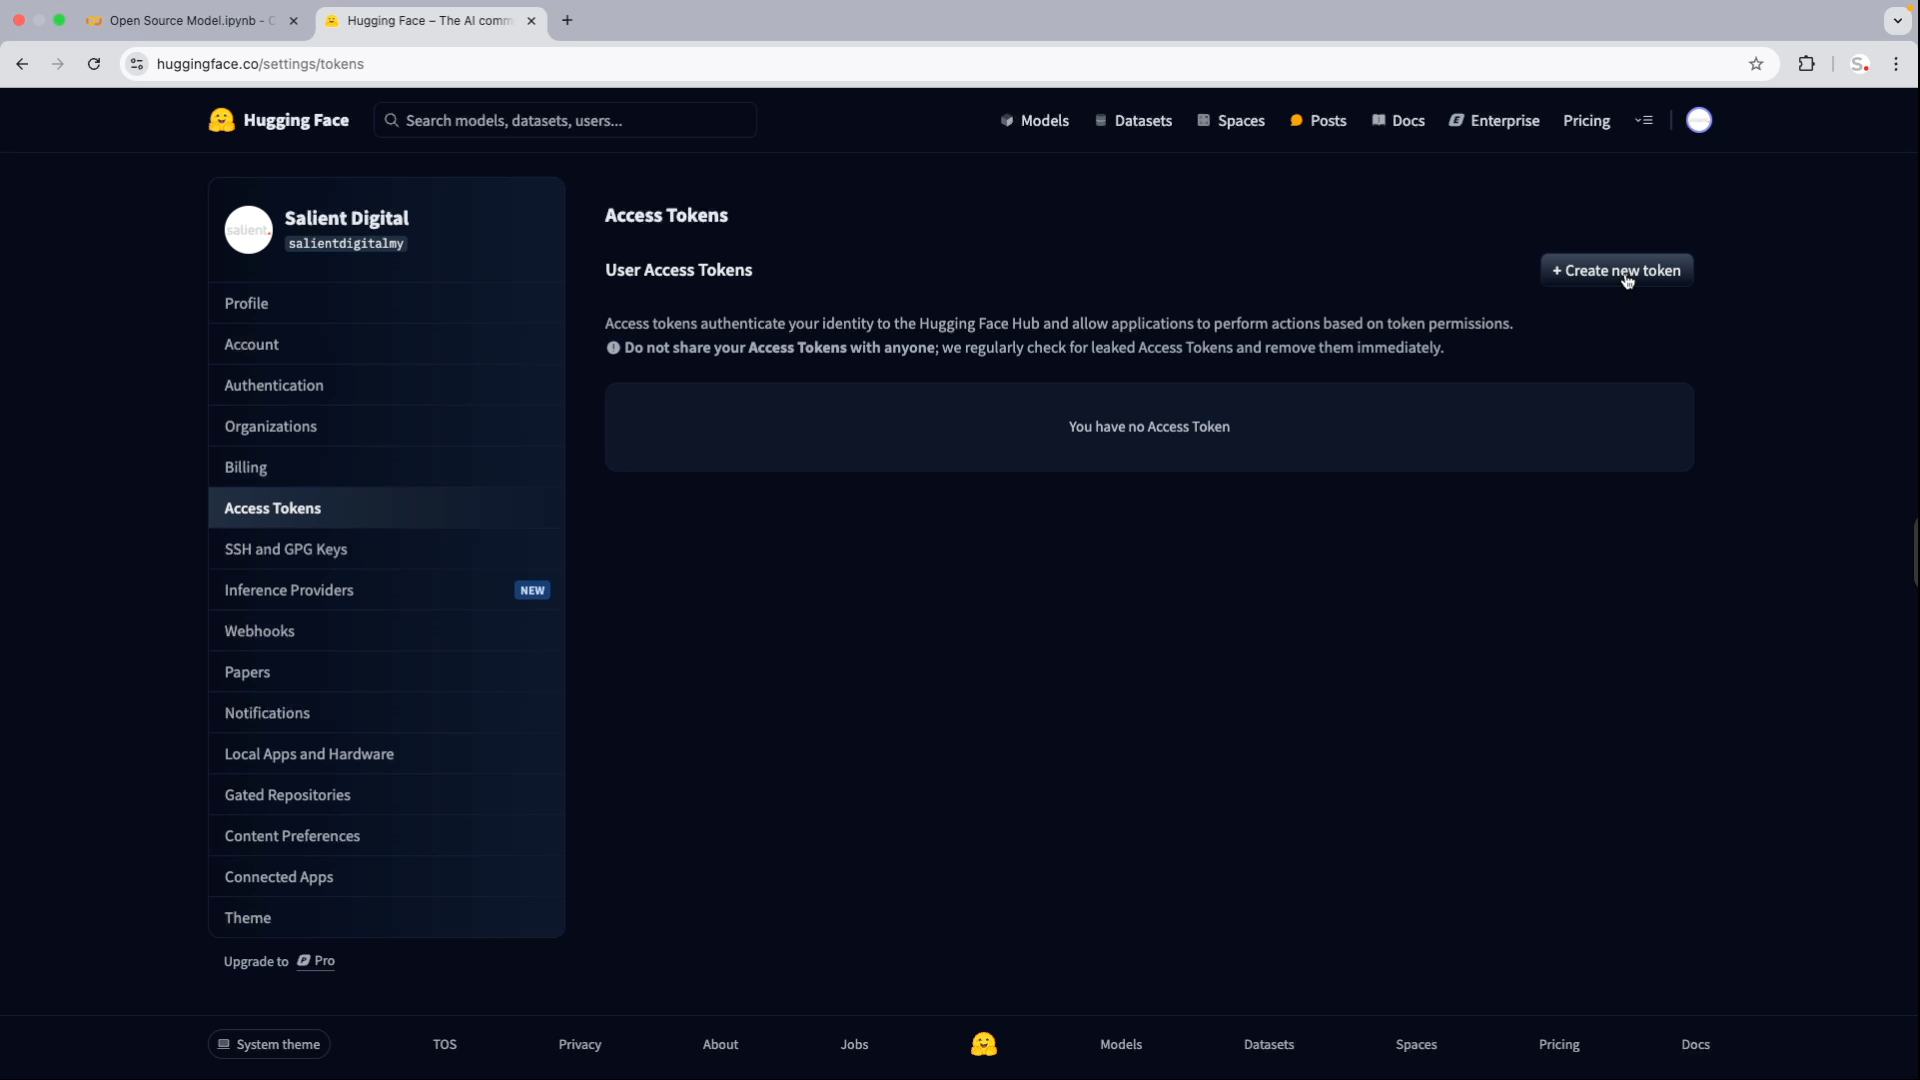
- Navigate to Settings > Access Tokens
- Click ‘Create New Token’
- Set the role to ‘Read’ and name it something like ‘Google Colab’
- Click ‘Create Token’ and copy it (you won’t be able to see it again)
Tip for beginners: Your Hugging Face token is your private API key—don’t share it publicly!
Step 3: Install Dependencies
Now, let’s jump into Google Colab.
- Create a new notebook.
- Name the notebook ‘Open Source Model’
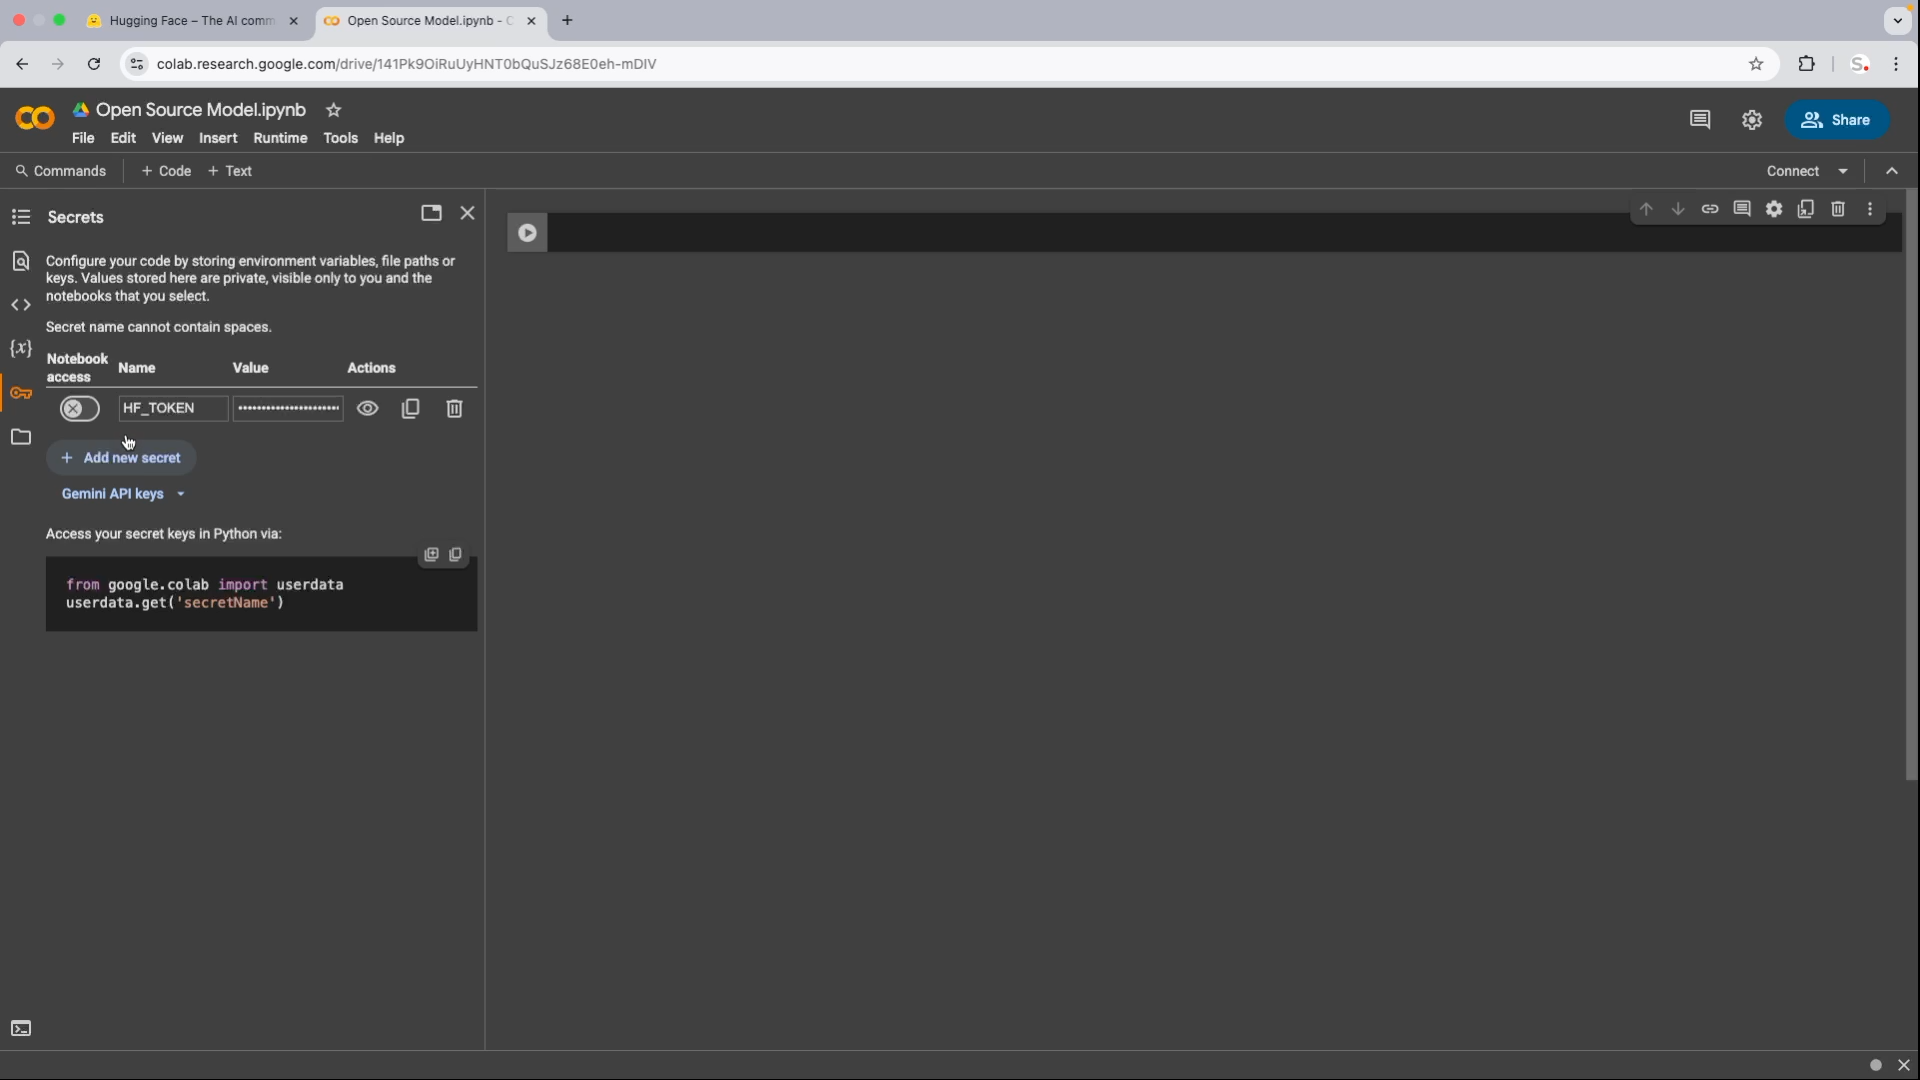
- Go to secrets (the key icon) at the left sidebar and paste the token you have copied in Hugging Face, name the secret ‘HF_Token’
- Install necessary libraries by running:
!pip install -q transformers datasets accelerate
- Login using your Hugging Face token:
from huggingface_hub import login
from google.colab import userdatahf_token = userdata.get(‘HF_TOKEN’)
login(token=hf_token)
Step 4: Try a Pre-Trained Model for Sentiment Analysis
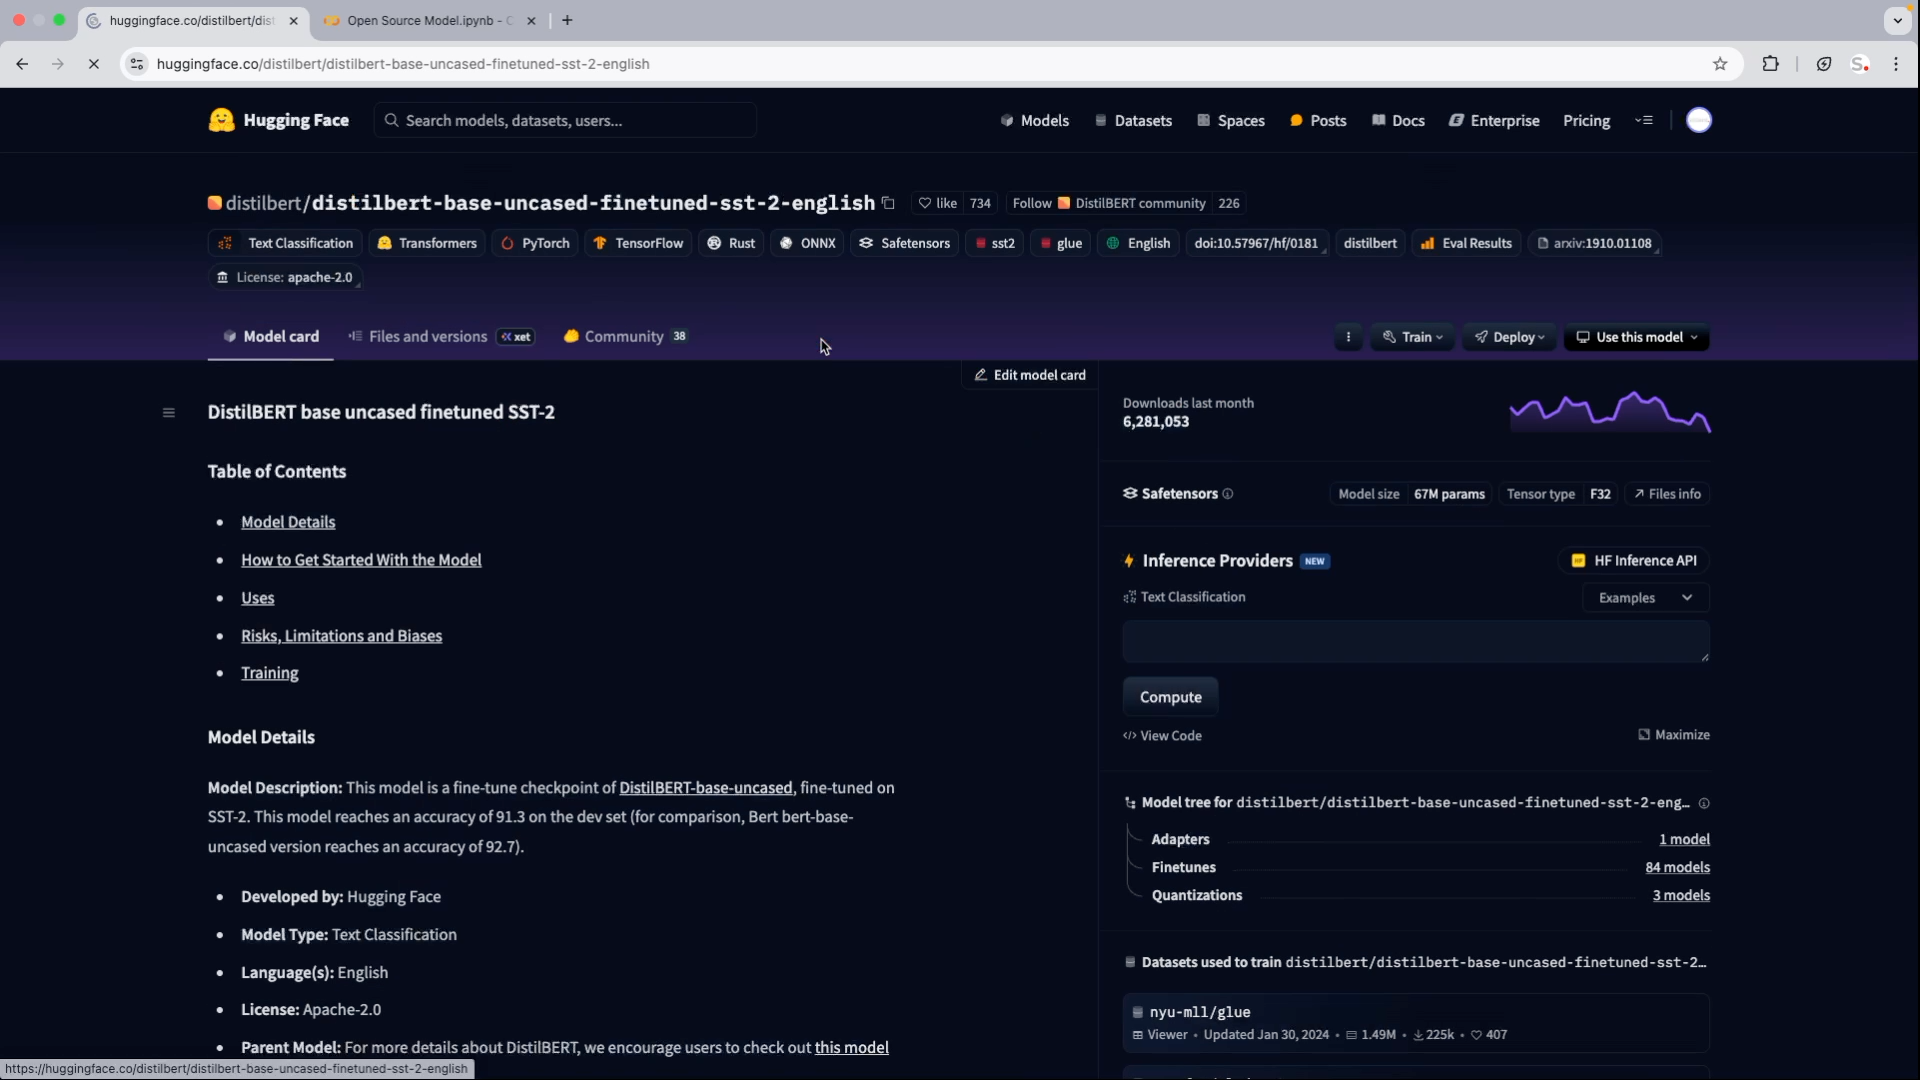
Let’s test a model right away! The pipeline function from transformers makes it incredibly simple, in this case we’ll use a text classification model version of BERT:
from transformers import pipeline
classifier = pipeline(“text-classification”, model=”distilbert-base-uncased-finetuned-sst-2-english”)
result = classifier(“Google Colab makes machine learning super easy!”)
print(result)
The model will tell you whether the sentence is positive or negative, and how confident it is.
Tip: You don’t need to know deep Python to do powerful things. This is real AI—in two lines of code.
Step 5: Create a Small Dataset for Training
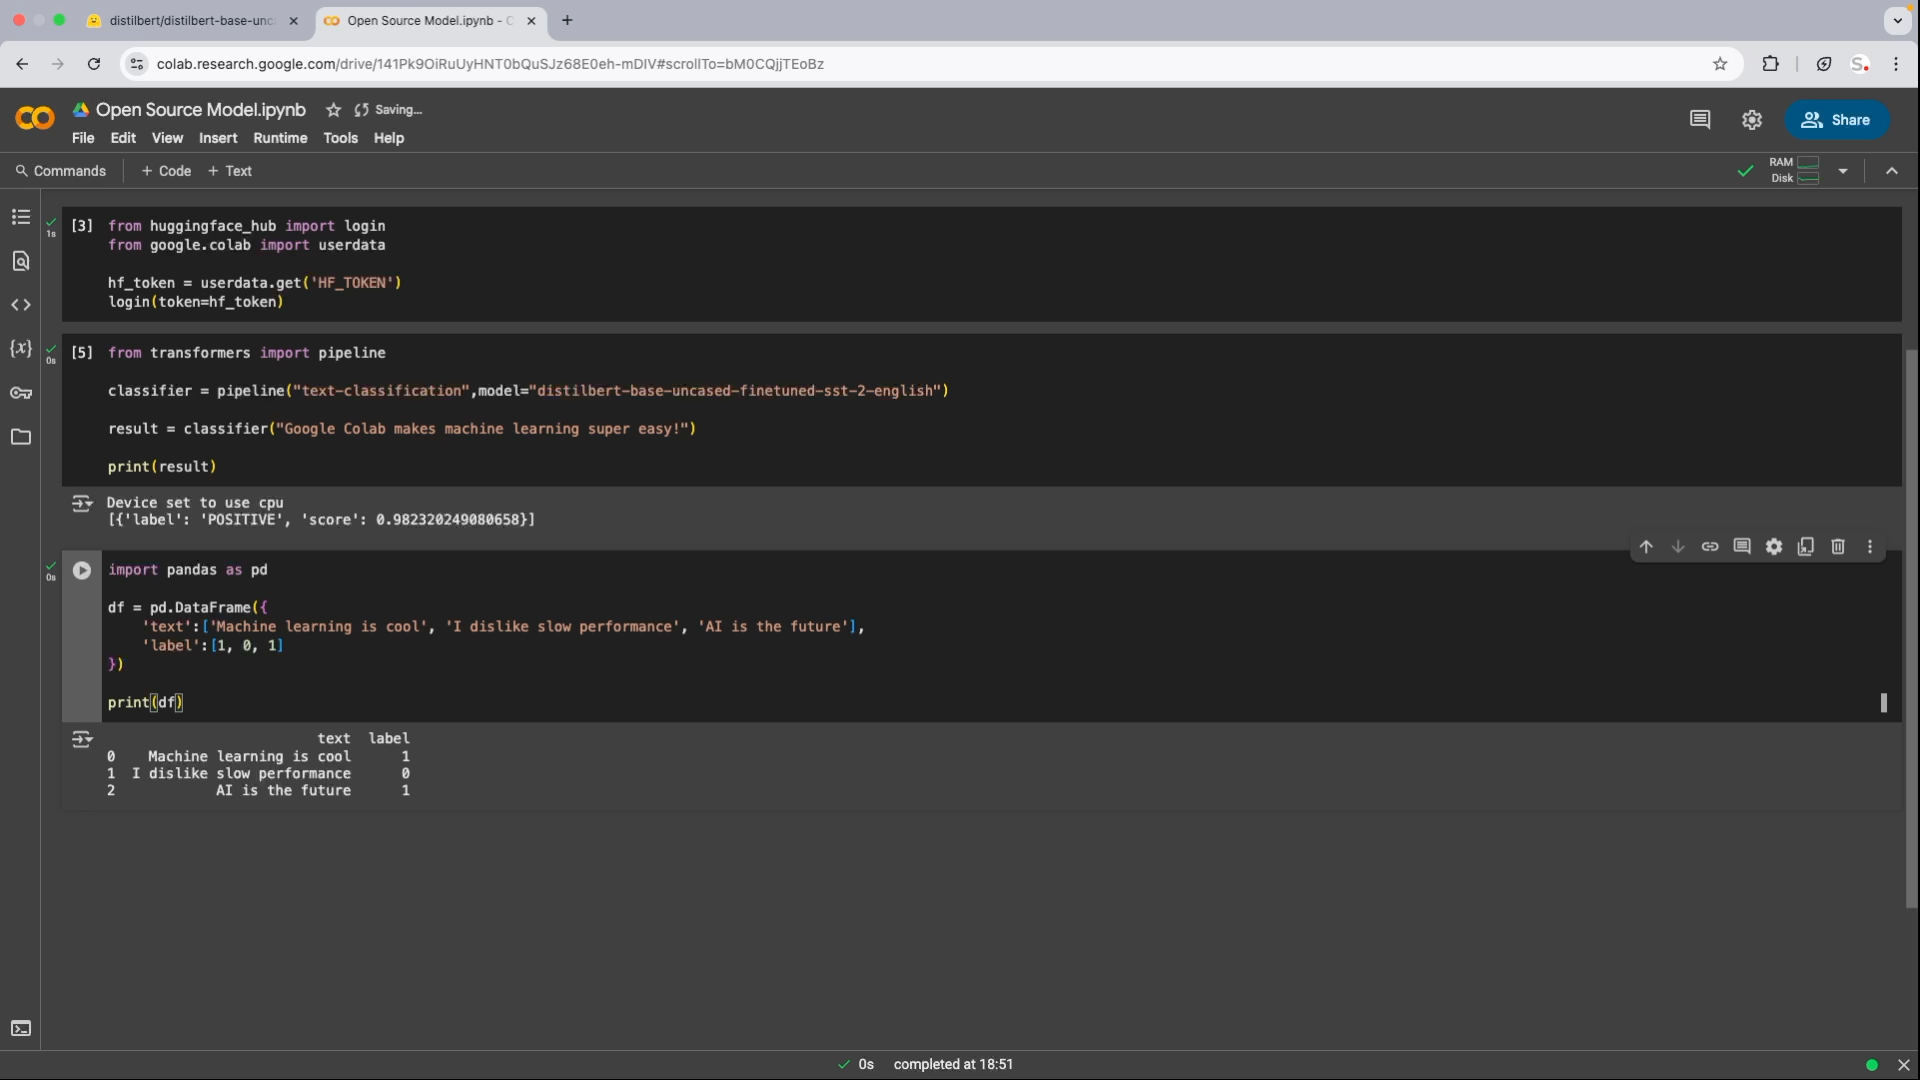
Before you train your own model, let’s create a sample dataset. Why small? Because:
- It runs faster
- It’s easier to debug
- It’s perfect for learning
import pandas as pd
df = pd.DataFrame({
‘text’: [‘Machine learning is amazing’, ‘I dislike slow performance’, ‘AI is the future’],
‘label’: [1, 0, 1]
})
Convert this into a Hugging Face Dataset object:
from datasets import Dataset
dataset = Dataset.from_pandas(df)
Step 6: Preprocess Your Text with Tokenization
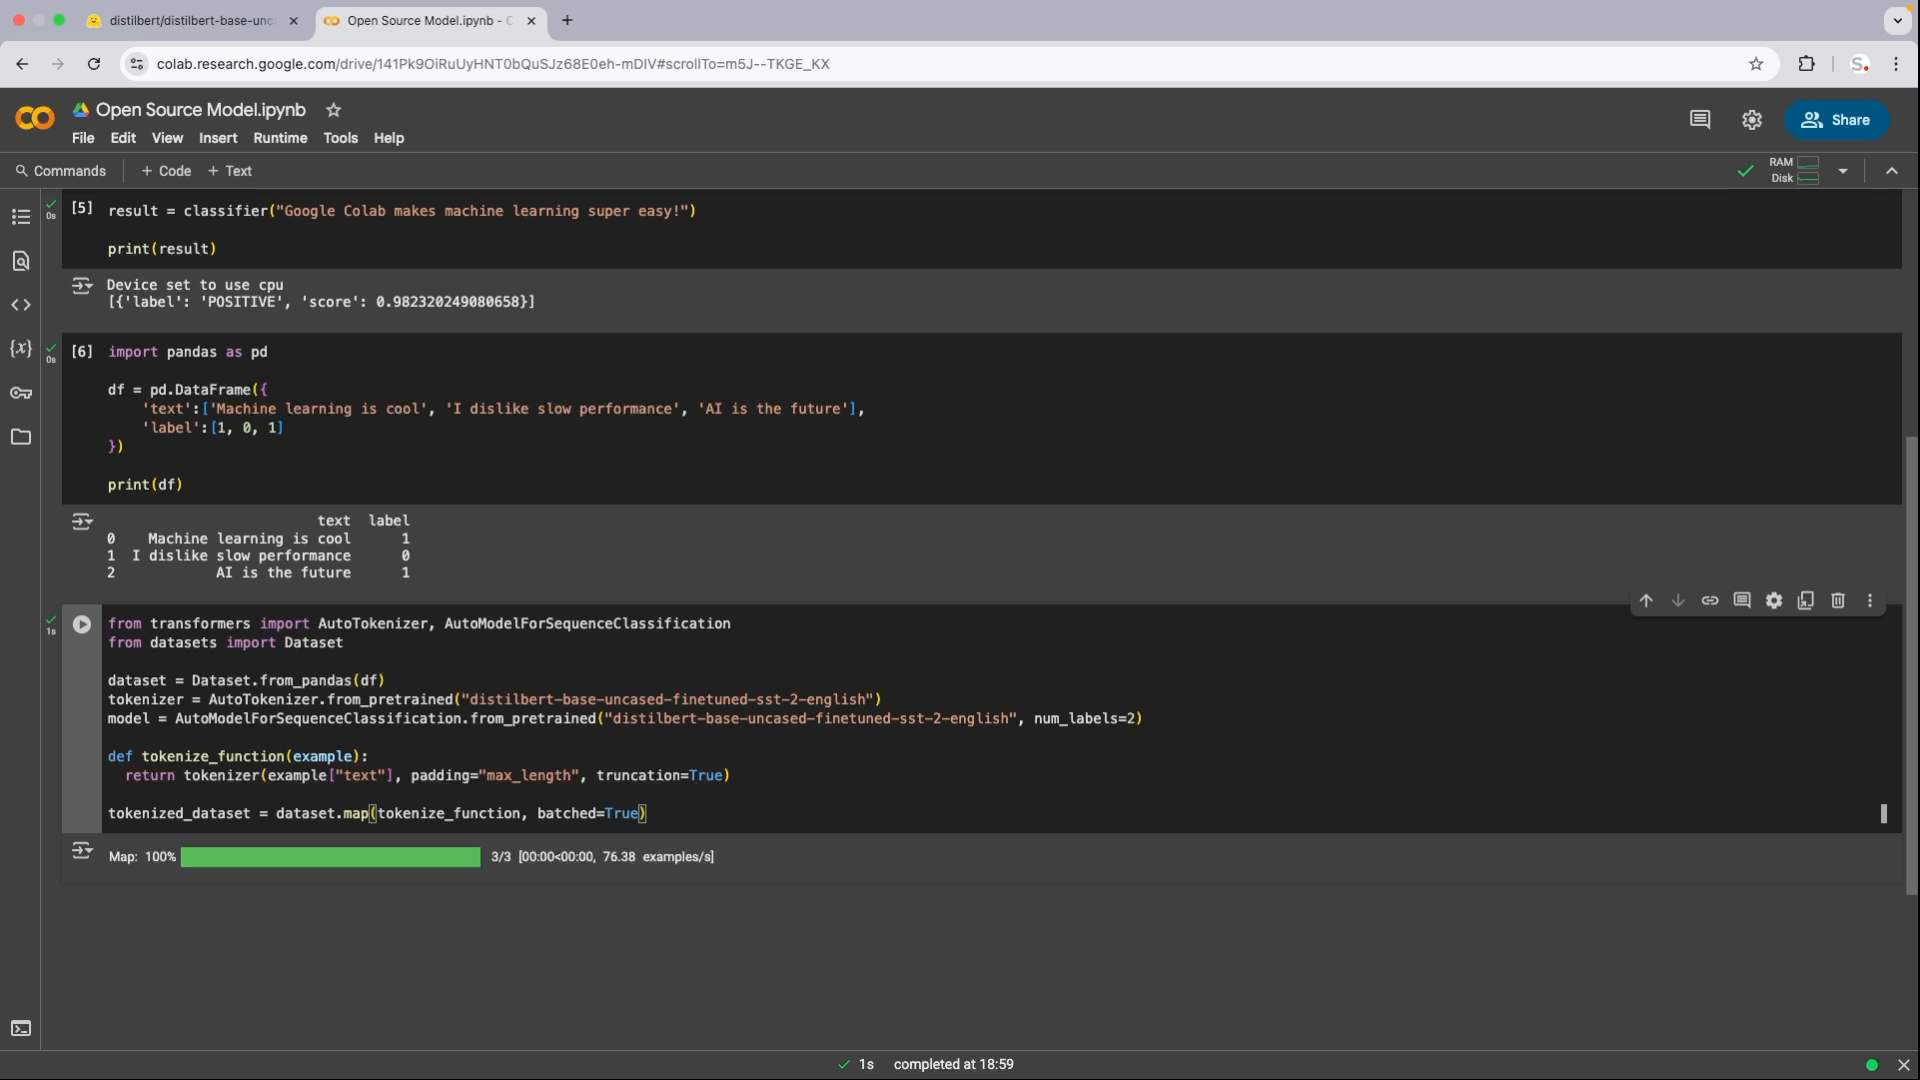
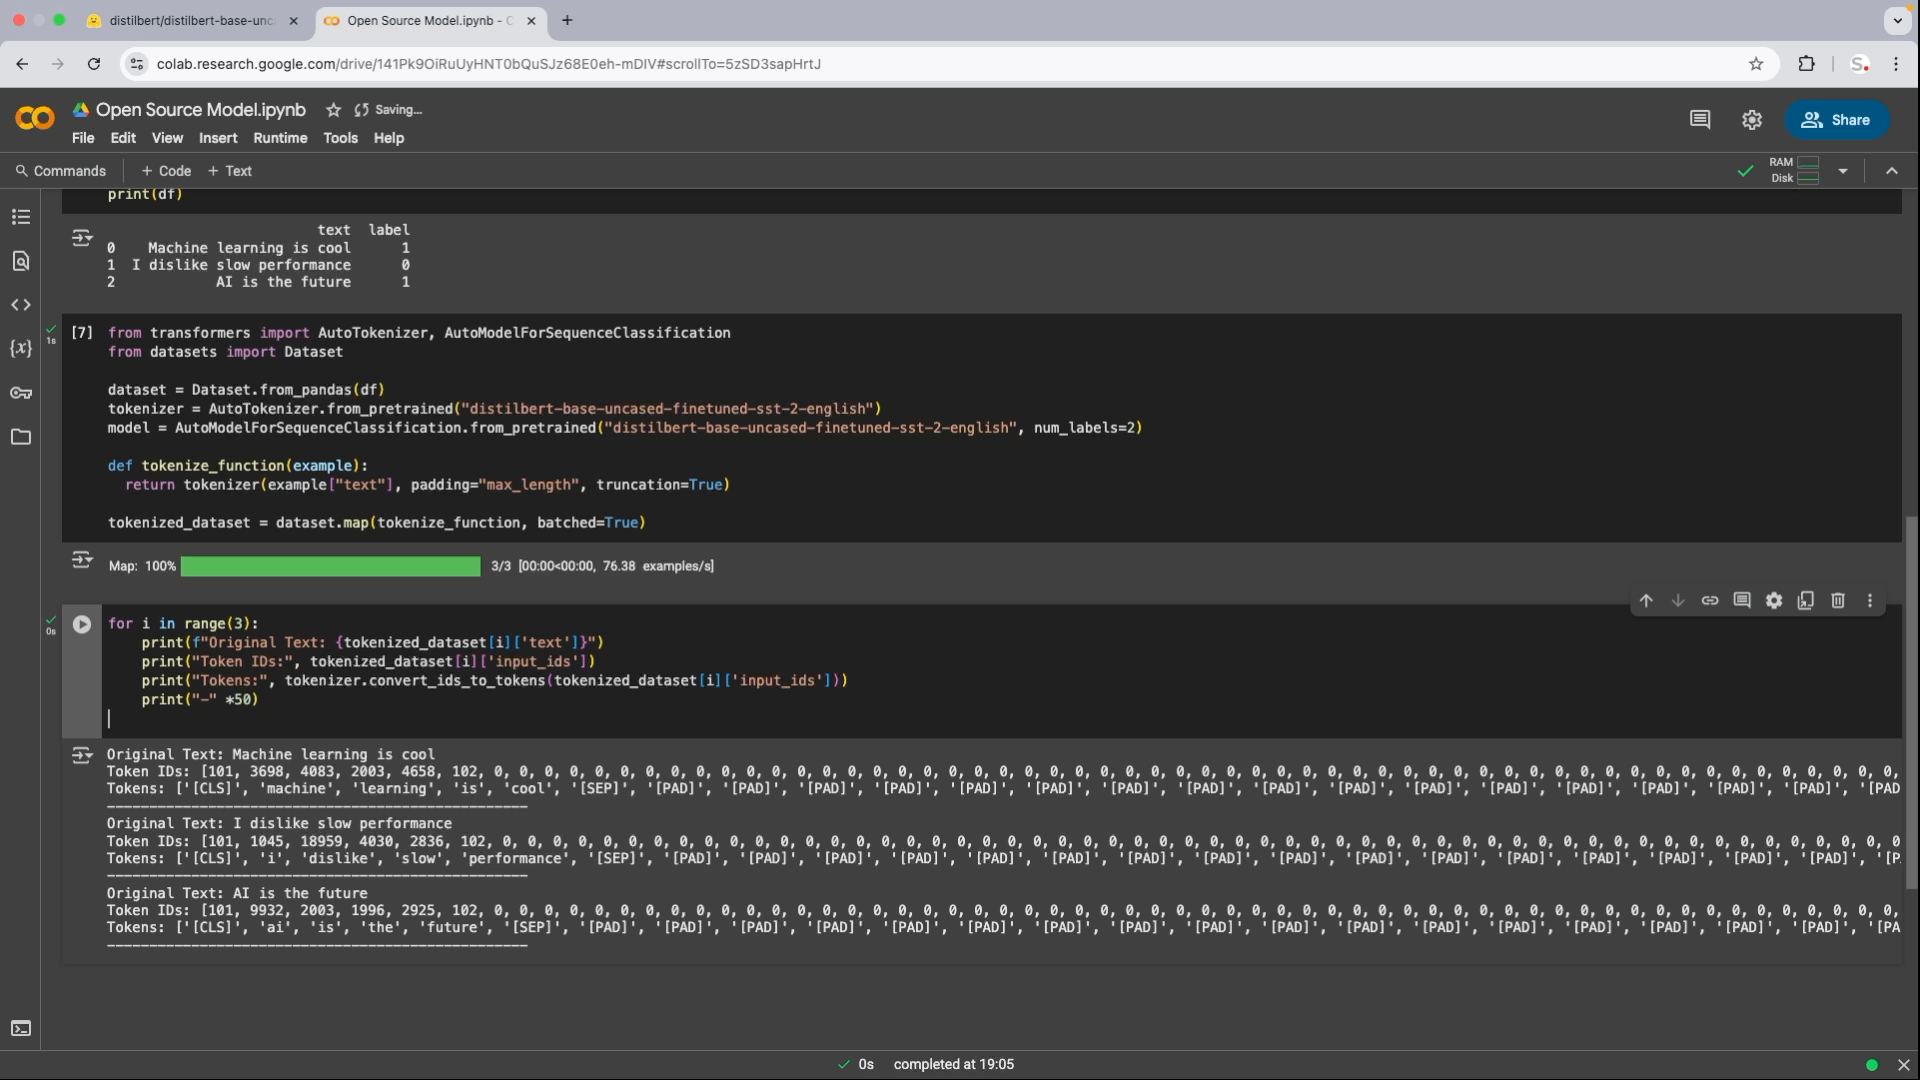
To teach a model to understand text, we first need to turn the words into numbers—this process is called tokenization.
from transformers import AutoTokenizer
tokenizer = AutoTokenizer.from_pretrained(“distilbert-base-uncased”)
def tokenize_function(example):
return tokenizer(example[“text”], padding=”max_length”, truncation=True)
tokenized_dataset = dataset.map(tokenize_function, batched=True)
Final Thoughts: Why This Process Matters
Conclusion
This might feel like a small project, but the skills you’re learning—tokenization, model loading, training, evaluation—are exactly the same concepts used in real-world AI systems.
Here’s what you’ve accomplished:
- Used a pre-trained model
- Built your own dataset
- Tokenized and prepared your data
Tip: Keep experimenting! Try new models, use bigger datasets, and tweak the parameters.
To learn how you can start training your AI model, read our next chapter!