
In this topic
How to Get Started with AI on Google Colab: A Beginner’s Guide to Train Your First NLP Model with Hugging Face and Google Colab
Hey everyone, and welcome back to our AI & ML tutorial series! If you’ve been following us, you already know how to:
- Download open-source models via Hugging Face
- Set up a Hugging Face account
- Tokenize small datasets for machine learning
Today, we’re going one step further, training your very own machine learning model using Hugging Face and Google Colab. Whether you’re a marketer, developer, or AI enthusiast, this guide will walk you through every step to fine-tune a pre-trained sentiment analysis model on your own dataset.
What Does “Training a Model” Actually Mean?
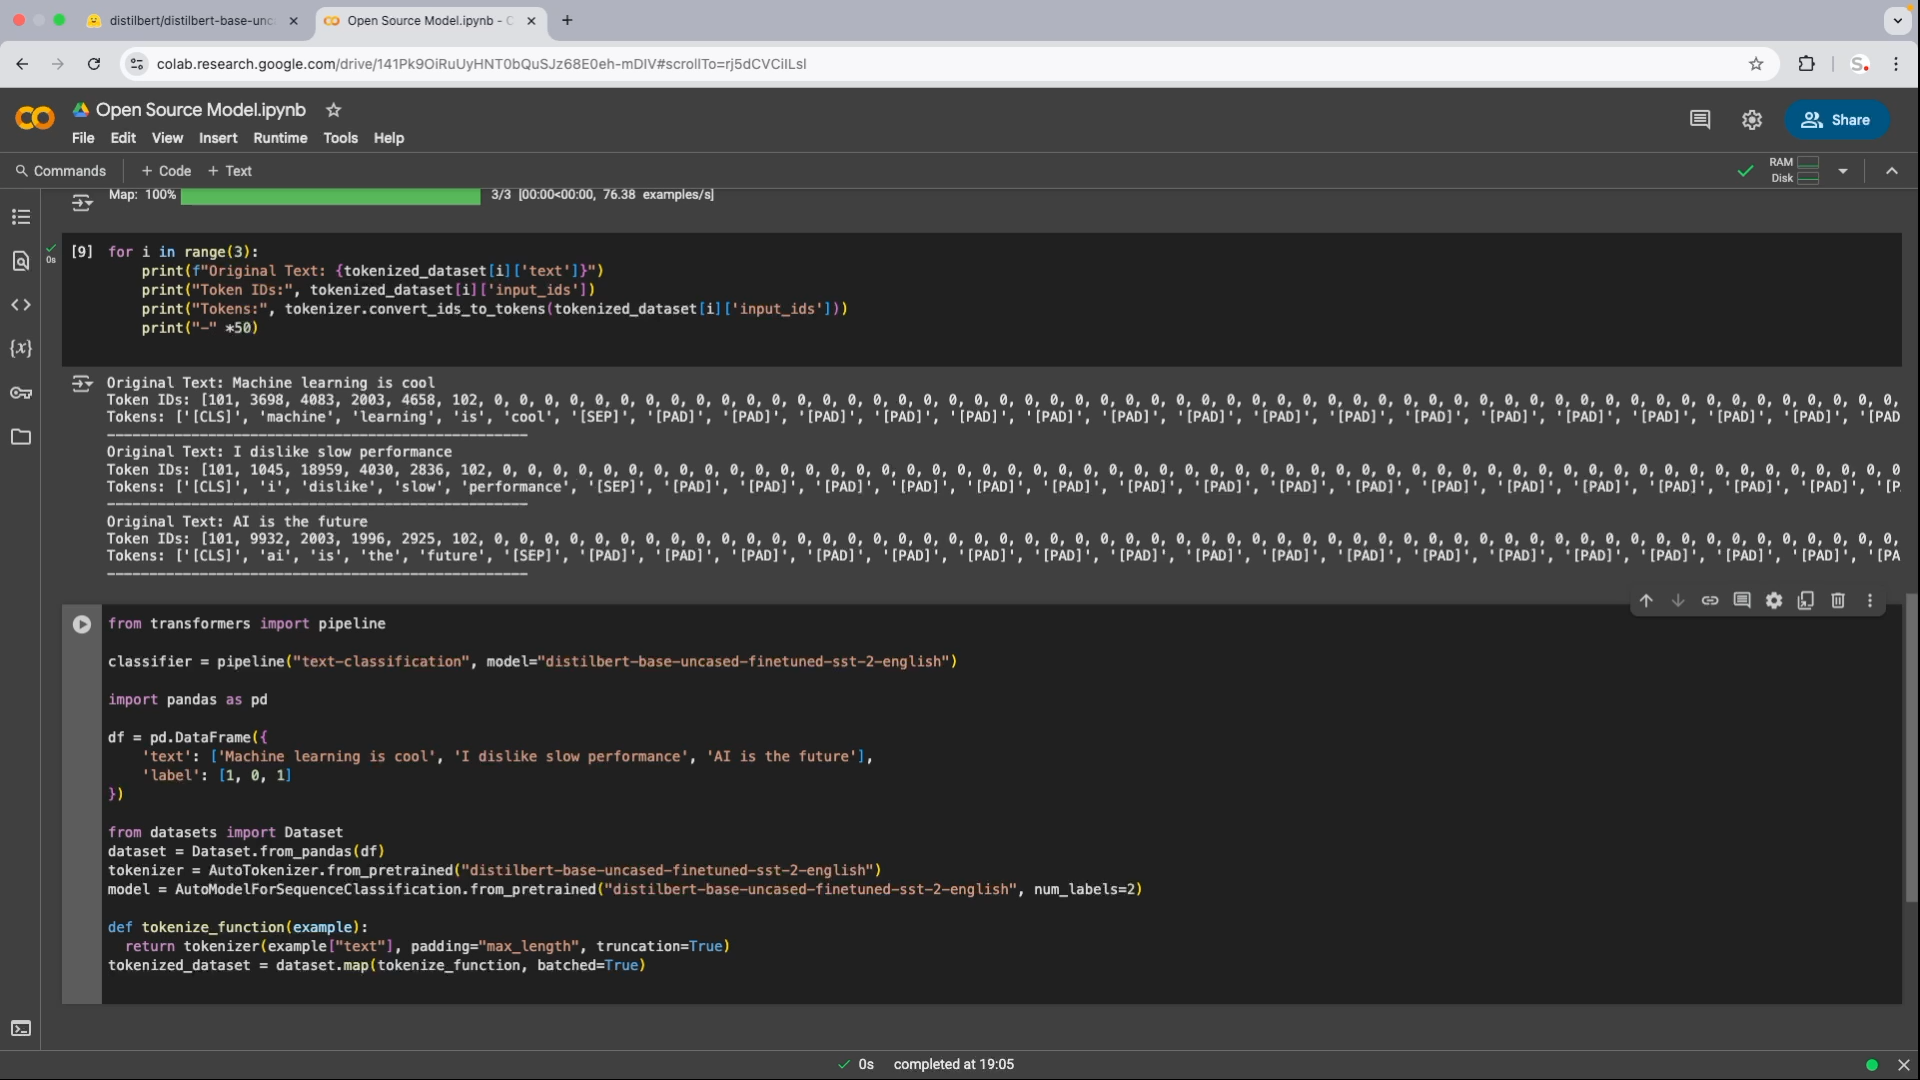
In simple terms, training a model means teaching it to identify patterns. For this tutorial, we’ll teach our model to recognize sentiment (positive or negative) in short text snippets.
We’re not starting from scratch. Instead, we’ll use transfer learning with a lightweight, pre-trained model: distilbert-base-uncased-finetuned-sst-2-english.
Why does this matter? Transfer learning speeds up training and boosts accuracy, even on smaller datasets — a perfect recipe for marketing teams and lean startups.
Step 1: Setting Up the Trainer with Hugging Face
We’ll be working in Google Colab for this project. Here’s what we need to import:
from transformers import TrainingArguments, Trainer
from sklearn.metrics import accuracy_score
- TrainingArguments: Handles configurations like batch size, number of epochs, and log directories.
- Trainer: Hugging Face’s built-in class that takes care of training, evaluation, and logging.
- We’ll also use accuracy_score from sklearn to measure our model’s performance.
Step 2: Splitting the Dataset for Training & Testing
Before training, we split our tokenized dataset into a training set and a test set:
dataset = tokenized_dataset.train_test_split(test_size=0.2)
This means that:
- 80% goes into training (dataset[“train”])
- 20% is saved for testing (dataset[“test”])
This ensures we can evaluate how well the model performs on unseen data, a key principle in machine learning.
Step 3: Define Your Training Arguments
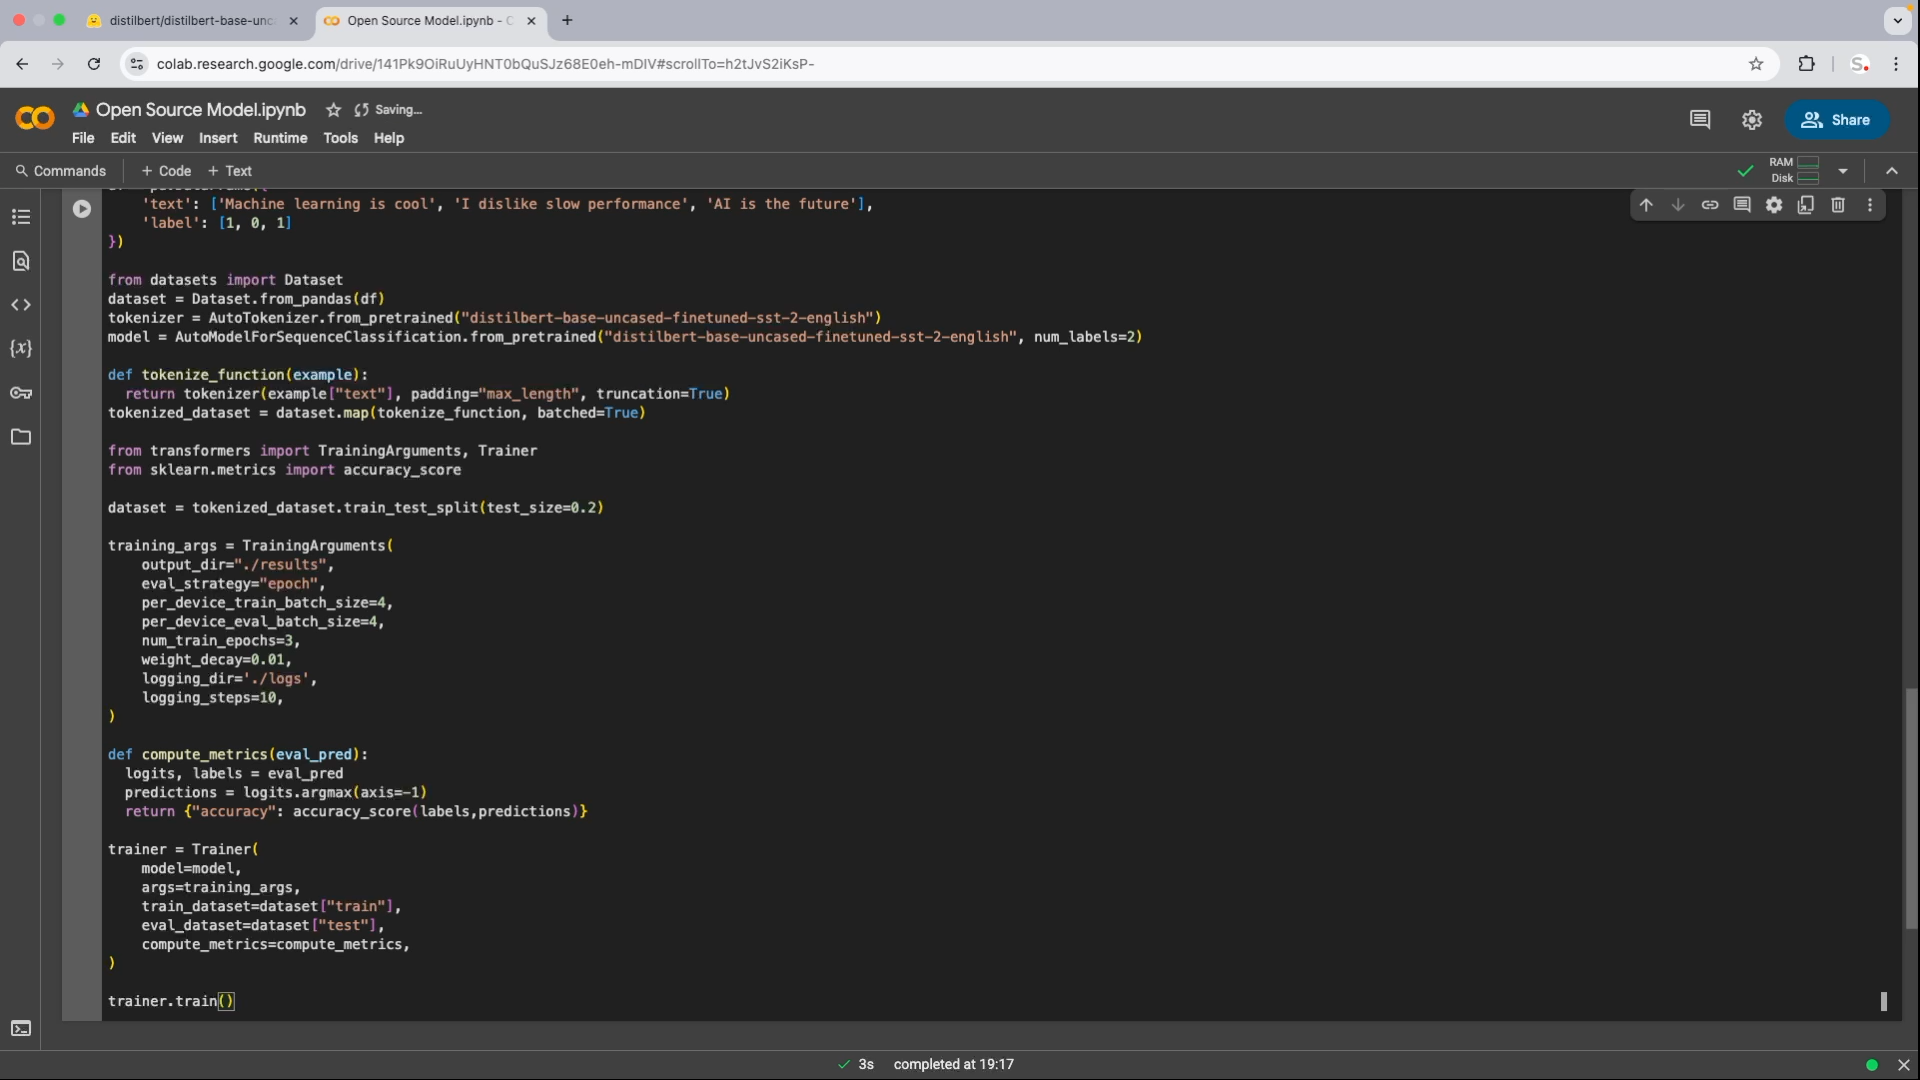
Now we configure how our model will train:
training_args = TrainingArguments(
output_dir=”./results”,
evaluation_strategy=”epoch”,
per_device_train_batch_size=4,
per_device_eval_batch_size=4,
num_train_epochs=3,
weight_decay=0.01,
logging_dir=’./logs’,
logging_steps=10,
)
These arguments:
- Define where to store the model (output_dir)
- Set how often to evaluate (evaluation_strategy=”epoch”)
- Use small batch sizes (perfect for Colab’s free GPUs)
- Log progress after every 10 steps
Step 4: Creating an Evaluation Function
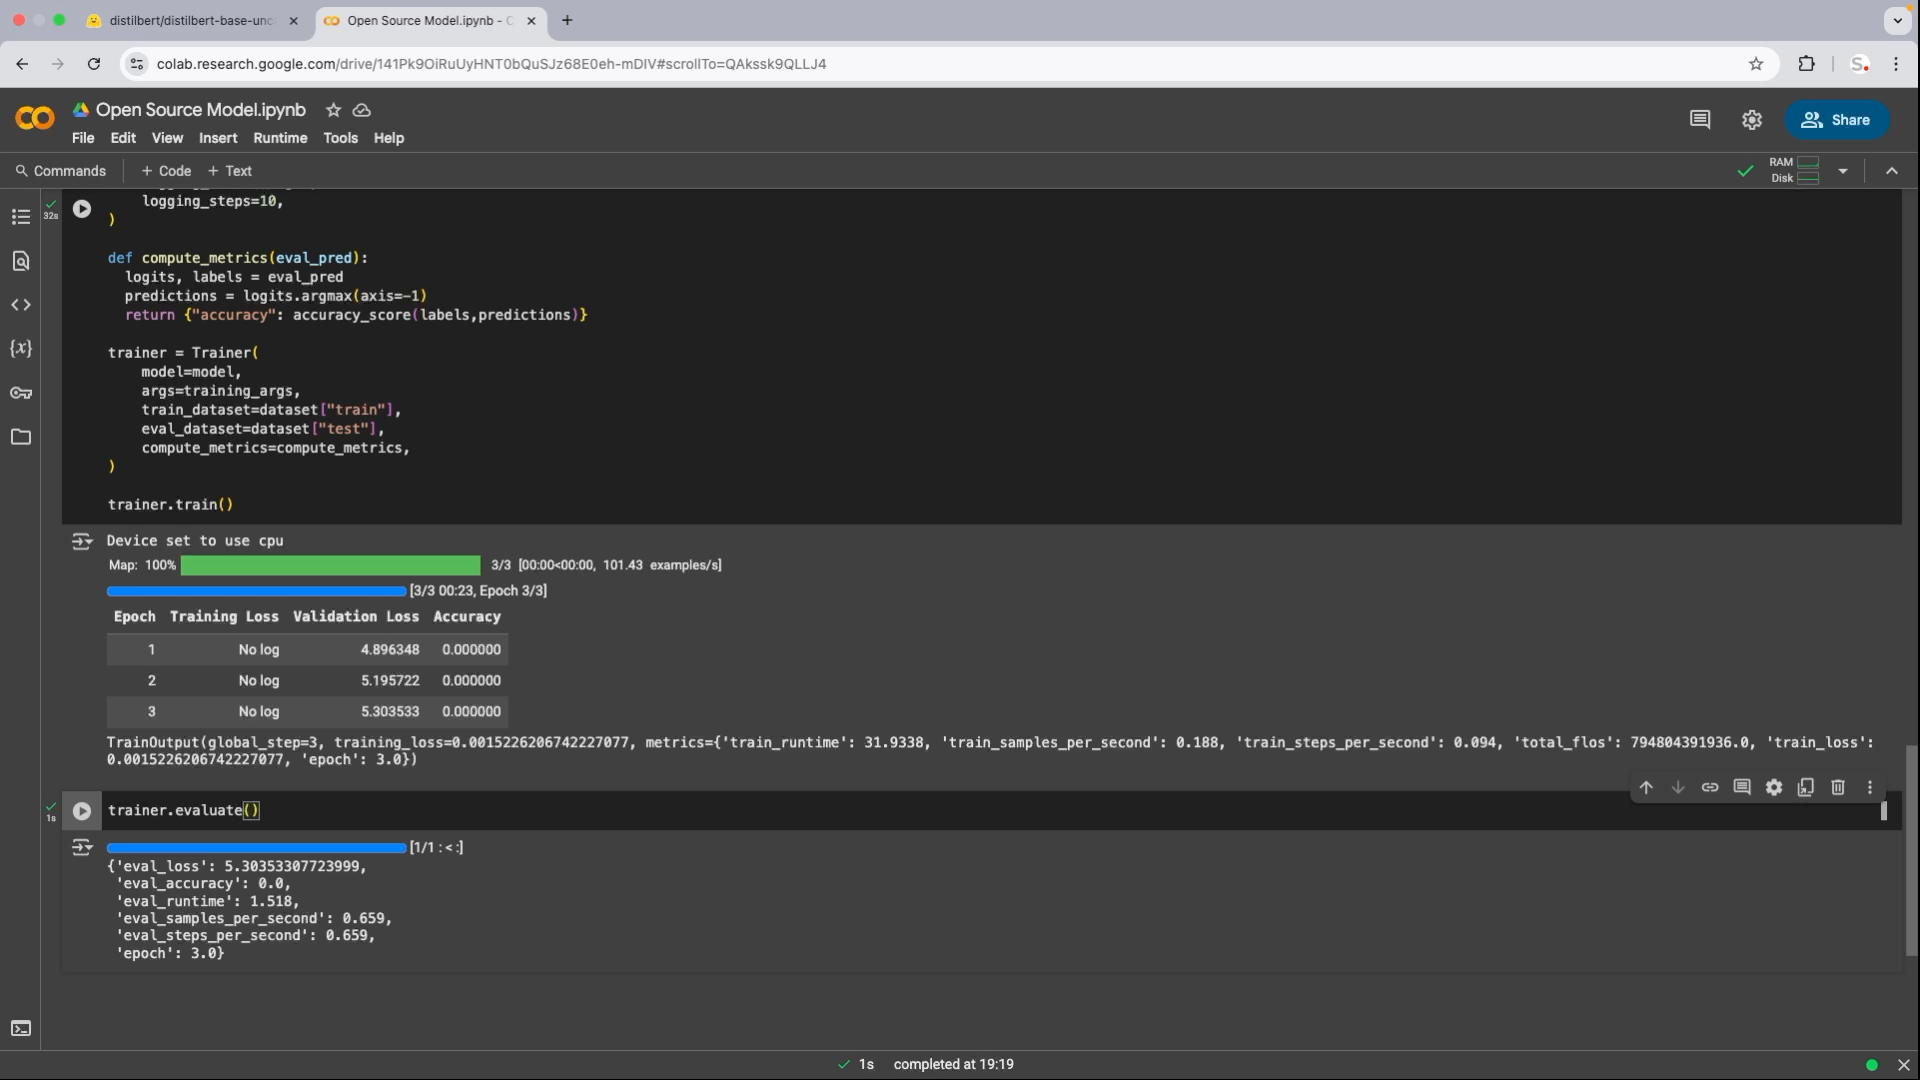
Here’s a quick function to evaluate our model’s predictions:
def compute_metrics(eval_pred):
logits, labels = eval_pred
predictions = logits.argmax(axis=-1)
return {“accuracy”: accuracy_score(labels, predictions)}
This function:
- Extracts predictions from the raw model output (logits)
- Compares them to true labels using accuracy_score
- Returns accuracy as a performance metric
Step 5: Training the Model with Trainer
Now it’s time to put everything together:
trainer = Trainer(
model=model,
args=training_args,
train_dataset=dataset[“train”],
eval_dataset=dataset[“test”],
compute_metrics=compute_metrics,
)
trainer.train()
What this does:
- Fine-tunes your model on your training set
- Evaluates it after each epoch on your test set
- Logs training metrics
- Saves your best-performing model
Step 6: Evaluate the Model
Once training is complete, let’s see how well it performs:
trainer.evaluate()
The output will include:
- eval_loss: Lower is better
- eval_accuracy: Ideally above 80% for solid results
- eval_runtime and eval_samples_per_second: Useful for optimization or debugging
Step 7: Make a Real-Time Prediction with Your Trained Model
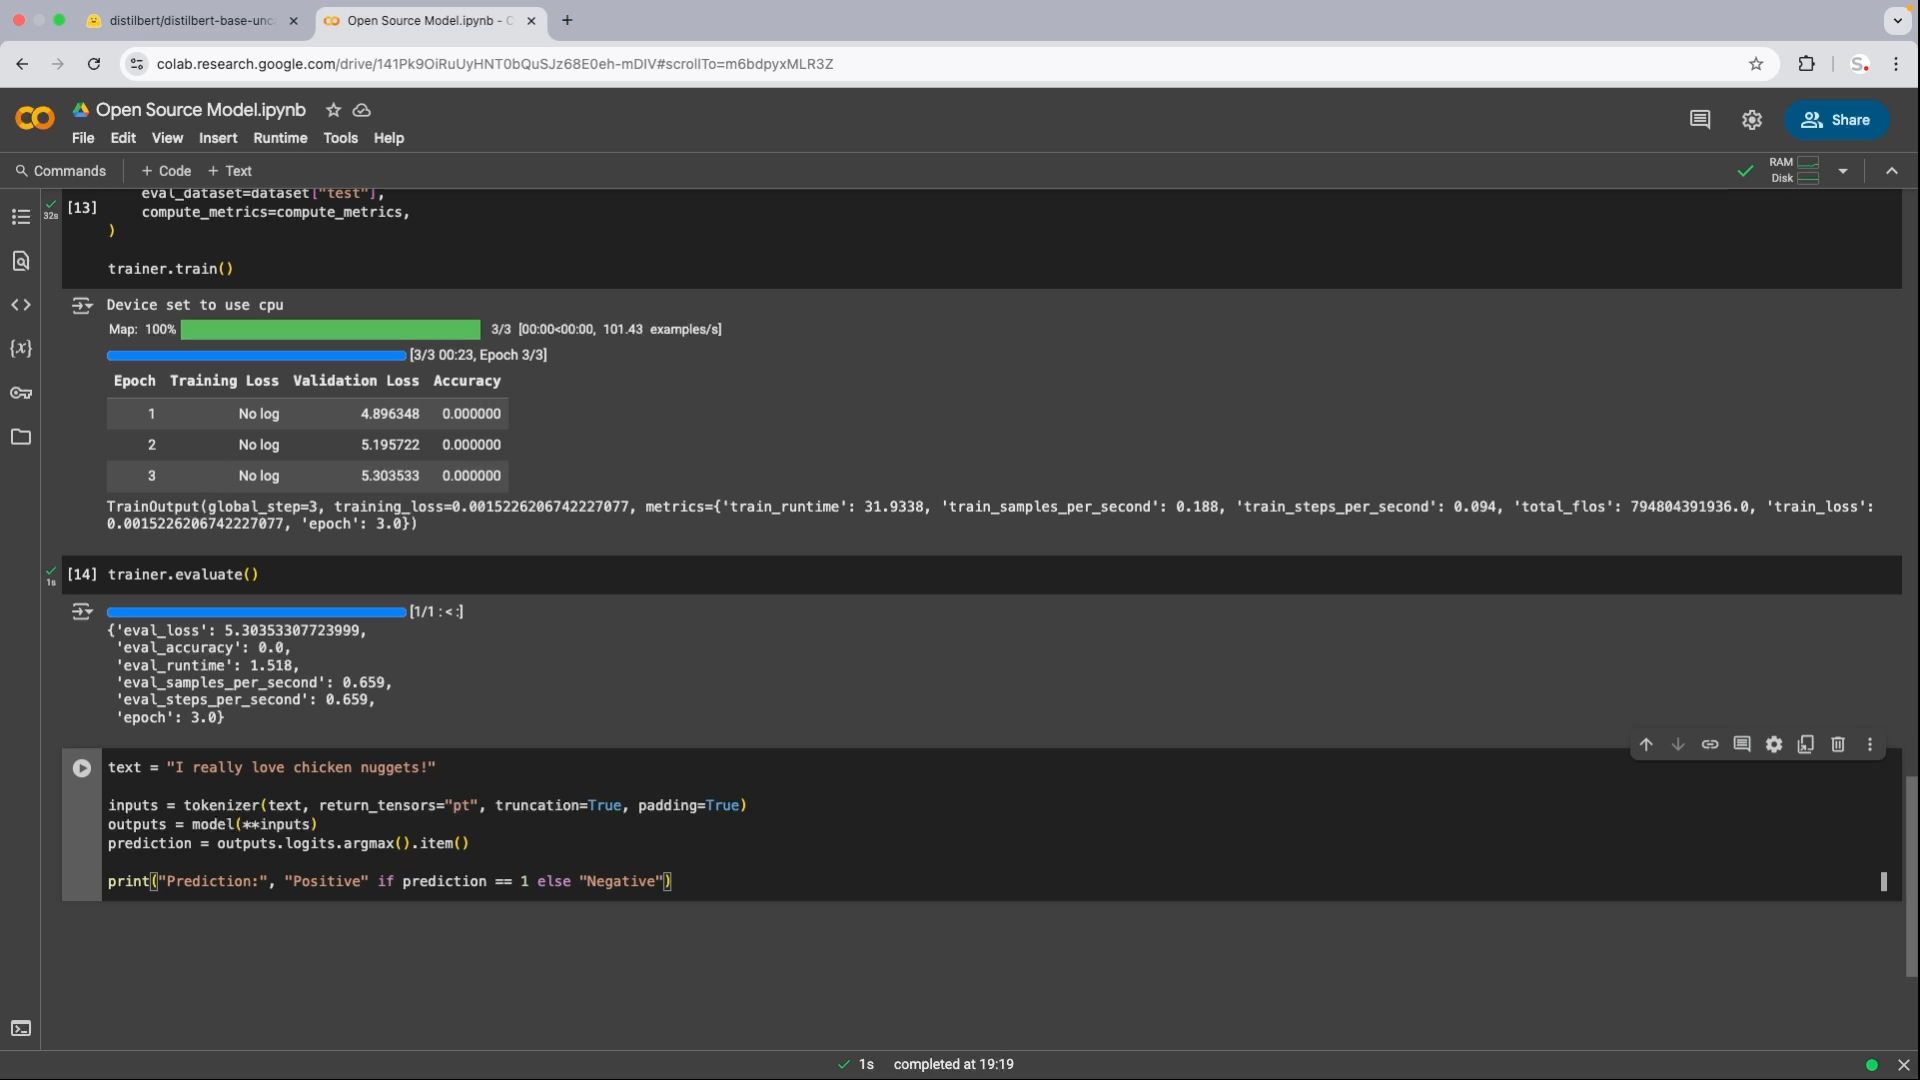
Let’s test it on a brand-new sentence:
text = “I really love chicken nuggets!”
inputs = tokenizer(text, return_tensors=”pt”, truncation=True, padding=True)
outputs = model(**inputs)
prediction = outputs.logits.argmax().item()
print(“Prediction:”, “Positive” if prediction == 1 else “Negative”)
Your model now takes human language as input, analyzes it, and gives a sentiment prediction, all thanks to your custom fine-tuning!
Final Thoughts: You Just Trained Your First NLP Model!
Conclusion
And that’s a wrap! You’ve successfully trained and tested your own sentiment classification model using Hugging Face + Google Colab.
This is just the beginning. With this knowledge, you can:
- Build AI tools for customer sentiment analysis
- Integrate real-time feedback into your marketing stack
- Scale personalized content strategies with NLP
If you found this tutorial helpful, don’t forget to share, bookmark, or subscribe to our newsletter. Got questions? Drop them in the comments or reach out to us on LinkedIn.